DIY Faux Leather Box Using Resin
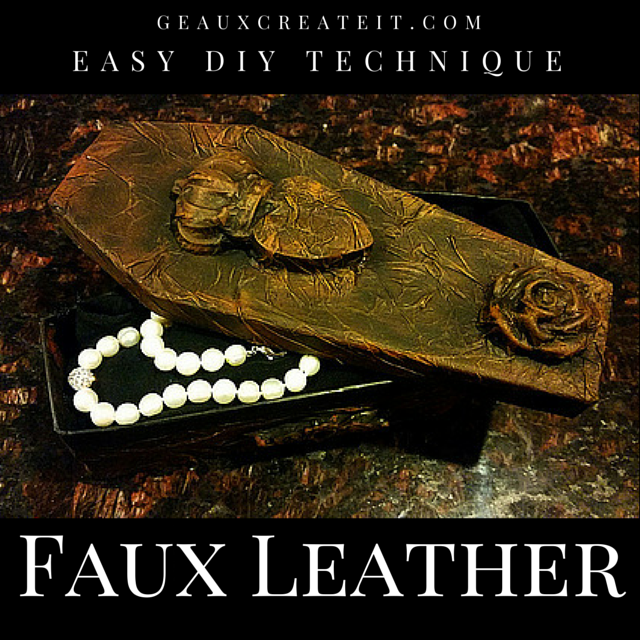
Wouldn't Lily Munster just love getting her Mother's Day Present in this lovely faux leather coffin box? Now your mother may not like a "coffin" box, but this technique works great on any box, book cover or even mirror!
This is a fun technique that you can use with so many other projects and is adapted from Andy Skinner's technique. I have done this same technique large boxes and it looks amazing!

Supplies:
Box
Resin Pieces
Tissue Paper (any color)
Black Acrylic PaintBurnt Umber Acrylic Paint
Raw Sienna Acrylic Paint
Decoupage Glue or Gel Medium
e6000 Glue
Brushes- 1 course bristle brush
Gather up all your left over resin pieces.... great way to recycle some pieces and parts. Then pick out some pieces you want to attach to your box.

Then find a box. You can use any type box but I am using a coffin shaped box from the dollar store.

Put the lid on your box and draw a line around the lid. This is where you will limit your tissue paper layer.

Start gluing your resin pieces to your box. After about 15 minutes cover the lid completely with the decoupage glue.


Crinkle up your tissue paper, straighten it out and then start pressing it into your lid. You will need to apply glue to the top as well. You do not want any air pockets, so flatted it down with a layer of glue. If it is too large of a tissue paper crinkle it won't look like leather. You are just trying to get a rough wrinkled texture.

Use your course bristle brush to really work the tissue into the design of your resin piece.


Once the glue is dry, you can start painting. The first coat is acrylic black. Completely cover the lid and bottom, inside and out. Let dry.

Once it dries you will dry brush the next layer. You will use Burnt Sienna for this. You can buy these colors in craft paint, so don't be alarmed!
What is dry brushing?Dry brushing is when the paint brush has paint on it but not loaded with paint. You drip your brush in paint and then wipe it off on a paper towel. It works best with a course brush.

This is a too wet. Luckily, we can always paint over it with black or use a paper towel to wipe it off, or dab off some.

It's starting to look really cool! You can even dry brush some back in some spots as a touch up, but always go over with the burnt sienna.. There is a reason for the layers. The darkest color is on the bottom, then lighter then lightest on top. Don't deviate from that.
Once you are satisfied, you will then move on to the lightest color, Raw Umber. Dry brush your highlights. At this point you could substitute a metallic Rub n Buff color, but I wanted to keep it as leathery as possible, so I went with the raw umber.

You are just lightly skimming the surface with your dry brush. Do not try to get in the grooves. You want the black to be deep in the crevices. It will dry lighter and look more realistic.


This looks like an area that would need touching up but when it dried it was hardly noticeable.


I absolutely LOVE this technique. If you are into Steampunk, you can really do some fun things!
This is a similar technique on a notebook and a mirror using metal tape and substituting raw sienna for silver Rub n Buff and resin Ouija board pieces and gears from purchased molds.

Notebook and Mirror from the Dollar Store.

Craft Your Own Way!

Tanya Ruffin
with


Comments